
How to Build a Bushcraft Three-Legged Stool Using a Hand Auger

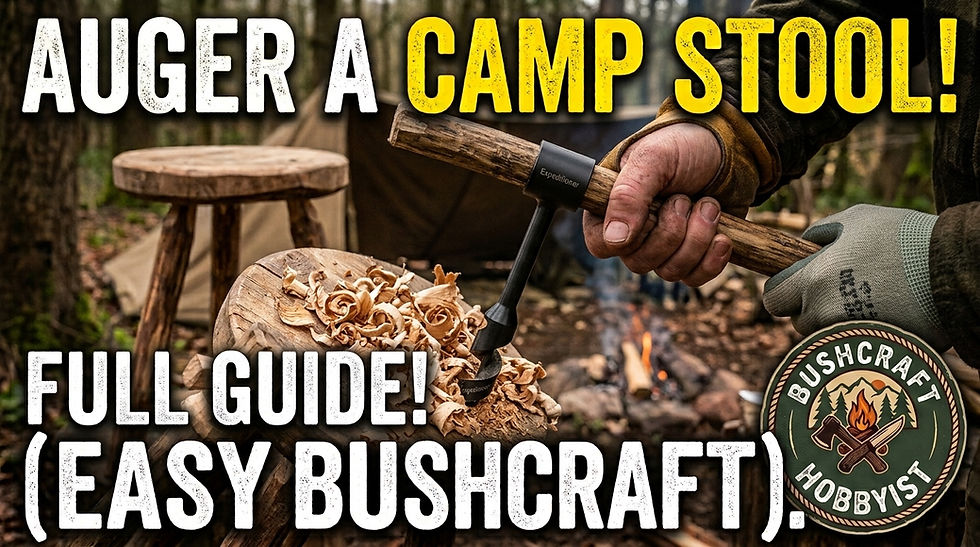
A three-legged camp stool is one of the most rewarding greenwood carpentry projects you can tackle around camp. Three-legged designs are self-leveling on uneven terrain, rock-solid, and require no glue or nails when built using tapered mortise-and-tenon joints.
Essential Tools & Materials
Wooden Mallet or Baton (carved on-site)
Hardwood Round (Seat): 10–14 inches in diameter, 3–4 inches thick
Straight Branches (Legs): 3 pieces, ~1.5–2 inches thick and 14–18 inches long
Step-by-Step Build Guide
Select and Prep the Timber:

Saw a level wood round from a fallen hardwood log (oak, ash, hickory, or maple) to serve as your seat platform. Cut three straight, sturdy green or seasoned branches to equal length for the legs, removing any side twigs or rough bark.
Bore the Mortise Holes with the Auger:

Angle the bit outward roughly 10–15 degrees for stability.
Insert a sturdy branch through the scotch eye loop to act as a T-handle lever. Place your seat blank flat on the ground. Mark three equidistant points about 1.5 to 2 inches inward from the outer edge. Drill angled holes either through the seat or deep into the underside.
Carve the Leg Tenons with a Knife:

Using your knife, whittle a rounded tenon onto the top of each leg matching your auger bit's diameter (e.g., 1 inch). Carve a slight shoulder so the leg rests flat against the underside of the stool, preventing the mortise hole from splitting under heavy loads.
Assemble and Wedge the Joints:

Ensure the wedge grain runs perpendicular to the seat grain.
Drive each tenon into its mortise hole using a wooden baton. For through-holes, saw a shallow slit across the top of each exposed tenon and hammer a small hardwood wedge into the slit to lock the joint permanently in place. Trim the legs level with your saw.


Comments